If we are developing an app using the Next JS framework, we may need to fetch data from the backend or make an API call with any change in URL parameters. Here we will discuss the steps to solve this use case.
URL parameters are important in the case of sorting, filtering, etc. where the person wants to see the filtered or sorted result when he accesses the URL directly.
Even though Next.js is a React framework, this code will only work with Next.js development. Because we need to use the react-router-dom package for routing in React.js and Next.js is pre-built with router component for this function.
Prerequisites
Before starting this article, I assume that the reader is aware of the skills listed below.
- Basic web development
- Basics of React.js library and Next.js framework
- URL and URL parameters
What we will learn
Throughout this article, we will learn,
- Why fetch or call API with change in URL parameters
- An introduction to what we are going to build
- About the REST APIs we are using.
- Creating a Next.js app
- Fetch or call API with change in URL parameters
Why fetch or call API with change in URL parameters
Let us assume that we are searching for a mobile phone on Amazon.com and we searched the keyword mobiles in the search bar.
This will call the search API and displays the result in the frontend. We can see that our browser URL changes at this time as below.
https://www.amazon.com/s?k=mobiles
Here s is the short form of search and k is the short form of the word keyword. URL parameters are made of a key and a value separated by an equals sign (=) and joined by an ampersand (&).
We can append multiple parameters in the URL and use these values to fetch the appropriate result.
Now, we can copy this URL from our browser and paste it to another tab, and press enter, the same search results will be shown there.
It means, when we are trying to access the above URL, the backend code detects the URL parameters and sends the corresponding results. The front end shows the search page with the search results instead of the home page.
What we are going to build?
I am explaining the topic “Fetch or Call API with Change in URL Parameters” with an example project. The workflow is explained with a GIF below.

- It fetches all the posts and render them as cards on the home page.
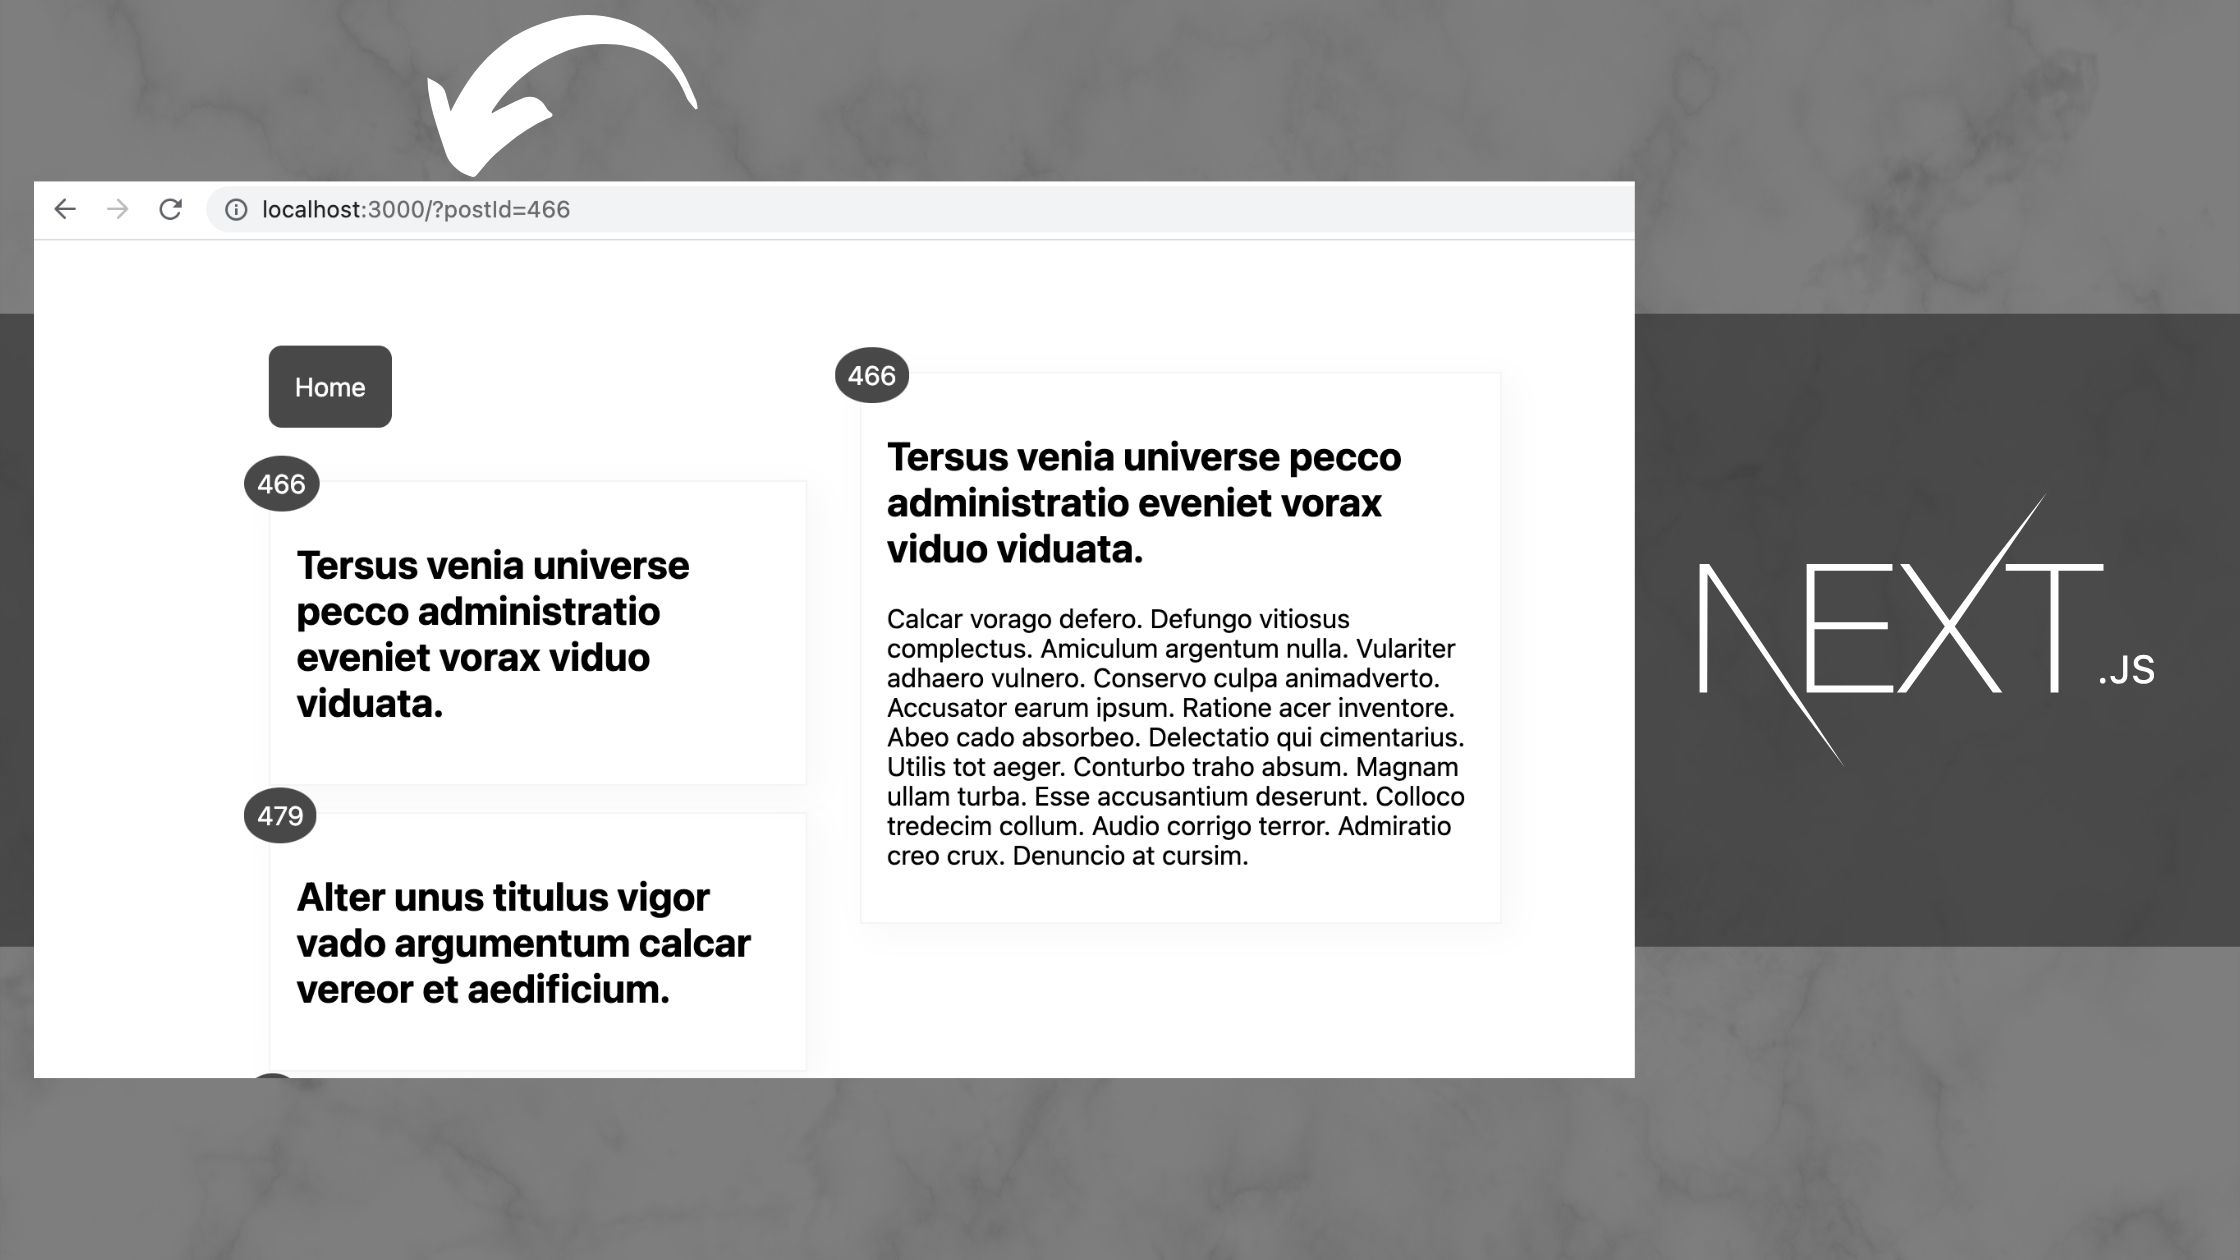
- If a card (post with id 3) is clicked, the post details API is called and the reponse will be shown at right side. This will also change the URL to
http://localhost:3000/?postId=3 - Also, if a person try to access the URL
http://localhost:3000/?postId=3directly on the browser, it returns the post details that we can see from the below GIF.

I am also giving the complete file structure of the app we are going to build.

REST APIs for testing and prototyping
Here, we are using APIs by Gorest for getting the dummy list of posts and a single post. I have mentioned those APIs below.
// Fetches the list of posts
https://gorest.co.in/public/v1/posts

// Fetches the single post with id 3
https://gorest.co.in/public/v1/posts/3
So we start coding a live example.
Start a new Next.js project
After successfully installing Node.js on our system, we can easily create a new Next.js project using the below command.
npx create-next-app fetch-api-url-params-nextjs
This will create a new project named fetch-api-url-params-nextjs.

We can enter the directory and open the project with Visual Studio Code or any other code editor.
Note: We must install VS code on our system before executing the code. command below.
cd fetch-api-url-params-nextjs
code .
This will open our Next.js project in VS code as shown below.

Fetch or call API with change in URL parameters
Now let us start coding the app. We are only using the root page which is index.js and also not using any custom components.
So at first, import the useRouter hook at the top.
import { useRouter } from "next/router";Now, inside the function component, we can access the query parameters as the same as below.
const router = useRouter();
const { postId } = router.query;
We use two states posts and post to store the list of posts and a single post.
const [posts, setPosts] = useState([]);
const [post, setPost] = useState({});
We are using useEffect hook to decide whether the user accessing the home page or accessing the single post URL directly.
useEffect(() => {
    if (postId) {
      fetchPost(postId);
    } else {
      fetchPosts();
      setPost({});
    }
}, [postId]);
The functions fetchPosts() and fetchPost() below will fetch list of posts and single posts respectively. So the function fetchPost require a postId to get the single post details.
  let fetchPosts = () => {
    fetch("https://gorest.co.in/public/v1/posts")
      .then((response) => response.json())
      .then((response) => {
        setPosts(response.data);
      });
  };

  let fetchPost = (postId) => {
    fetch(`https://gorest.co.in/public/v1/posts/${postId}`)
      .then((response) => response.json())
      .then((response) => {
        setPost(response.data);
      });
  };
Now, let us code the elements for rendering the view. It displays all posts on the left side and the single post on the right side.
  return (
    <div className={styles.container}>
      <div className={styles.left}>
        <div className={styles.buttonContainer}>
          <Link href="/">Home</Link>
        </div>
        {posts.map((item) => {
          return (
            <div className={styles.card} onClick={() => appendQuery(item.id)}>
              <div className={styles.number}>{item.id}</div>
              <h2>{item.title}</h2>
            </div>
          );
        })}
      </div>
      {post.id ? (
        <div className={styles.right}>
          <div className={styles.fixedCard}>
            <div className={styles.number}>{post.id}</div>
            <h2>{post.title}</h2>
            <p>{post.body}</p>
          </div>
        </div>
      ) : null}
    </div>
  );
Clicking any card on the left side will call the function appendQuery(item.id) and this will append the query /?postId=3 to the URL where 3 is the id of the post. The function appendQuery is defined below.
let appendQuery = (id) => {
    router.query.postId = id;
    router.push(router);
};
So that the entire index.js file looks the same as below.
import styles from "../styles/Home.module.css";
import Link from "next/link";
import { useEffect, useState } from "react";
import { useRouter } from "next/router";

export default function Home() {
  const router = useRouter();
  const { postId } = router.query;

  const [posts, setPosts] = useState([]);
  const [post, setPost] = useState({});

  useEffect(() => {
    if (postId) {
      fetchPost(postId);
    } else {
      fetchPosts();
      setPost({});
    }
  }, [postId]);

  let fetchPosts = () => {
    fetch("https://gorest.co.in/public/v1/posts")
      .then((response) => response.json())
      .then((response) => {
        setPosts(response.data);
      });
  };

  let fetchPost = (postId) => {
    fetch(`https://gorest.co.in/public/v1/posts/${postId}`)
      .then((response) => response.json())
      .then((response) => {
        setPost(response.data);
      });
  };

  let appendQuery = (id) => {
    router.query.postId = id;
    router.push(router);
  };

  return (
    <div className={styles.container}>
      <div className={styles.left}>
        <div className={styles.buttonContainer}>
          <Link href="/">Home</Link>
        </div>
        {posts.map((item) => {
          return (
            <div className={styles.card} onClick={() => appendQuery(item.id)}>
              <div className={styles.number}>{item.id}</div>
              <h2>{item.title}</h2>
            </div>
          );
        })}
      </div>
      {post.id ? (
        <div className={styles.right}>
          <div className={styles.fixedCard}>
            <div className={styles.number}>{post.id}</div>
            <h2>{post.title}</h2>
            <p>{post.body}</p>
          </div>
        </div>
      ) : null}
    </div>
  );
}
Add some custom styles
We are also importing a style Home.module.css for adding a custom style to the home page.
.container {
  margin: 5rem;
  display: flex;
  justify-content: center;
}
.buttonContainer {
  margin-bottom: 3rem;
}
.buttonContainer a {
  padding: 1rem;
  background: #484848;
  color: white;
  border-radius: 0.5rem;
}
.buttonContainer a:hover {
  background: #272727;
}
.left {
  width: 40%;
}
.right {
  width: 40%;
  margin-left: 2rem;
}
.card {
  position: relative;
  width: 100%;
  height: auto;
  cursor: pointer;
  box-shadow: 5px 5px 20px rgb(0 0 0 / 3%);
  border: 1px solid whitesmoke;
  padding: 1rem;
  margin-bottom: 1rem;
}
.number {
  position: absolute;
  left: -1rem;
  top: -1rem;
  background: #484848;
  padding: 0.5rem;
  border-radius: 50%;
  color: white;
}

.fixedCard {
  width: 40%;
  height: auto;
  cursor: pointer;
  box-shadow: 5px 5px 20px rgb(0 0 0 / 3%);
  border: 1px solid whitesmoke;
  padding: 1rem;
  margin-bottom: 1rem;
  position: fixed;
}

.card:hover {
  box-shadow: 5px 5px 20px rgb(0 0 0 / 10%);
}
Codesandbox
Refer to the CodeSandbox link to view the live app. You can clone this project to your CodeSandbox account and edit the code also.
https://codesandbox.io/s/agitated-shockley-6z8fj
GitHub
You can always refer to the GitHub repository to clone this project, refer to the code and work on top of it.
https://github.com/techomoro/fetch-api-url-params-nextjs
Summary
In this article, we discussed the steps to fetch or call API with the change in URL parameters in a Next.js app.


Be the first to reply